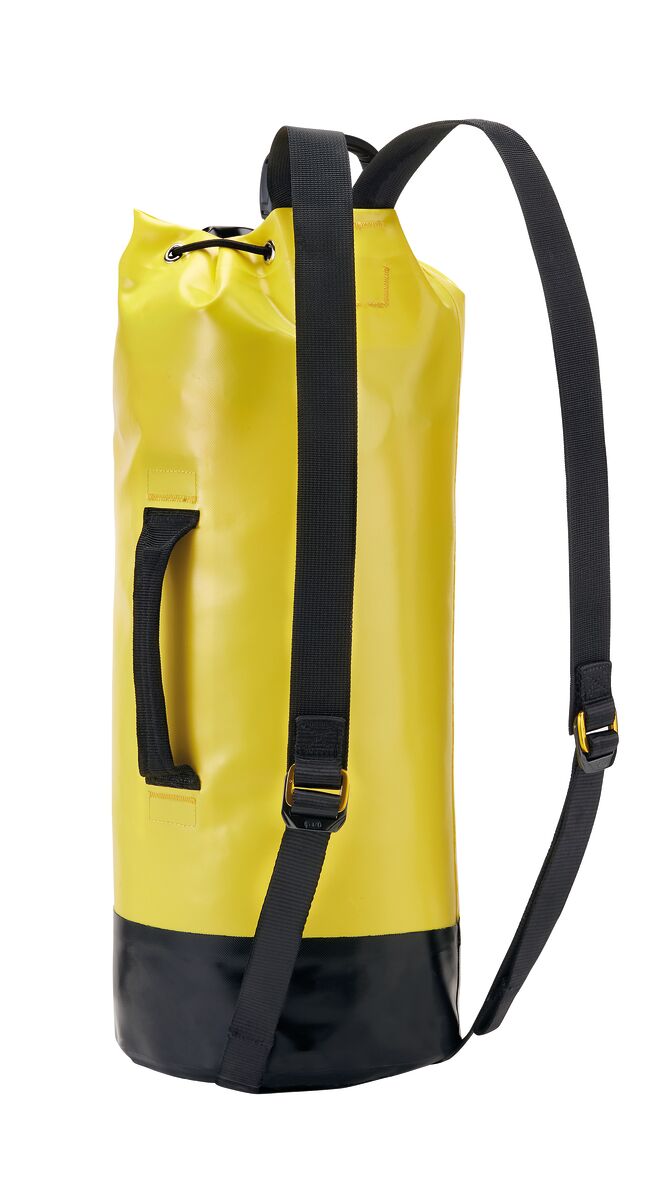
Techniques for equipping a pitch
Basic Techniques
Warning
- Carefully read the Instructions for Use referenced in this Tech Tip before reading the Tech Tip itself. You must have read and understood the Instructions for Use to understand this supplementary information.
- Performing these techniques requires specific training. Work with a professional to confirm your ability to perform these techniques safely and independently before attempting them unsupervised.
- We provide examples of techniques related to your activity. Other techniques not described here may also exist.
The first member to descend installs the ropes that serve to belay the team and allow them to move efficiently. They must choose the appropriate configurations of equipment for ascent and descent and maximize the team's safety. During these manipulations, the desire for speed should not be at the expense of the leader's own safety.
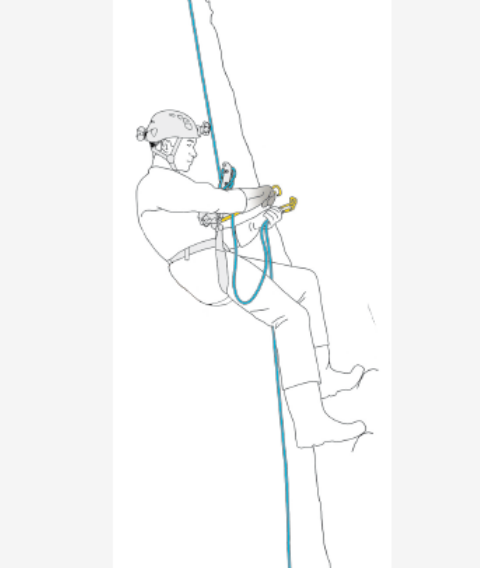
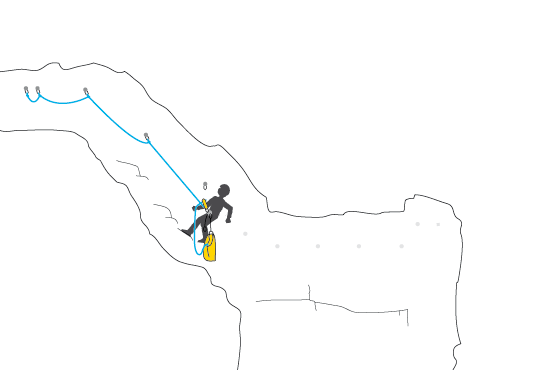
1. Installing a fixed traverse line
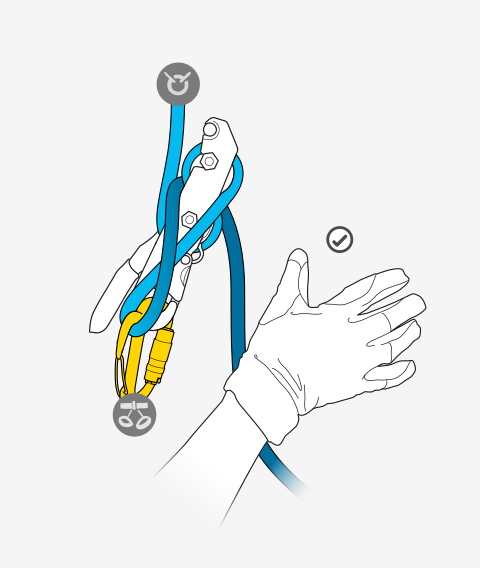
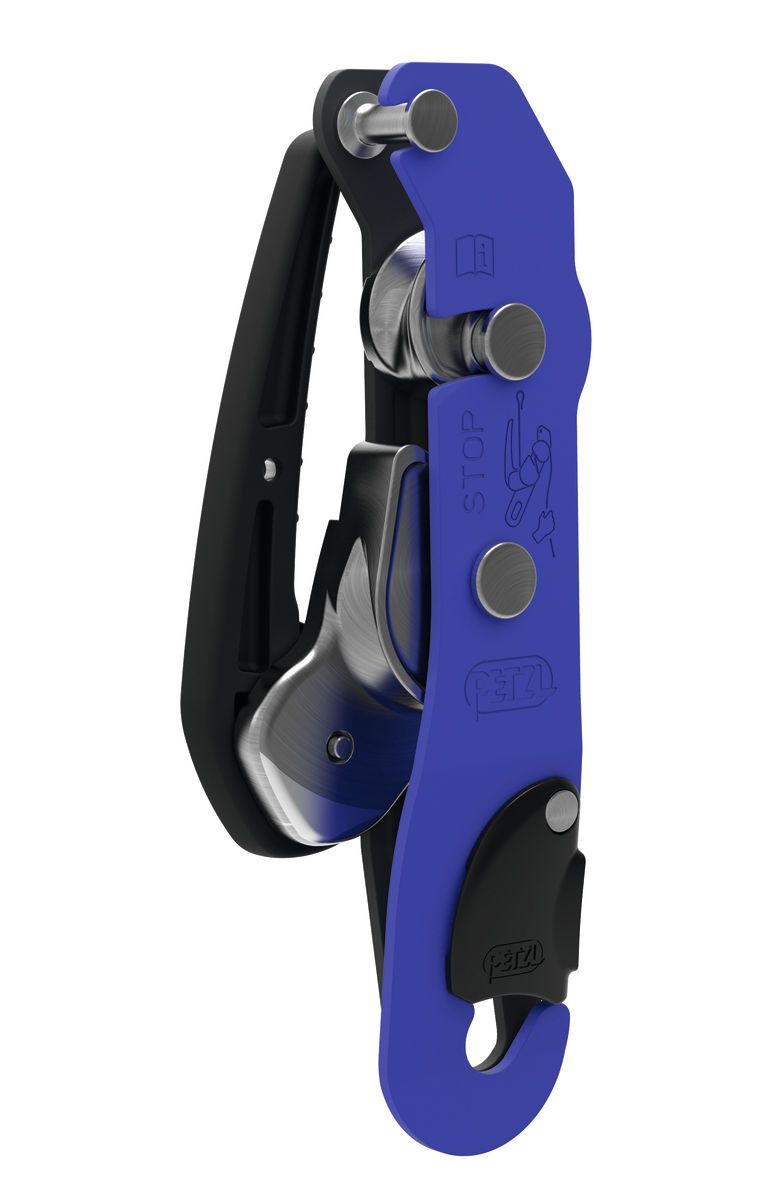
The rest of the team can walk while tethered into the fixed line. The leader always stays in tension on their STOP and never releases the brake side of the rope.
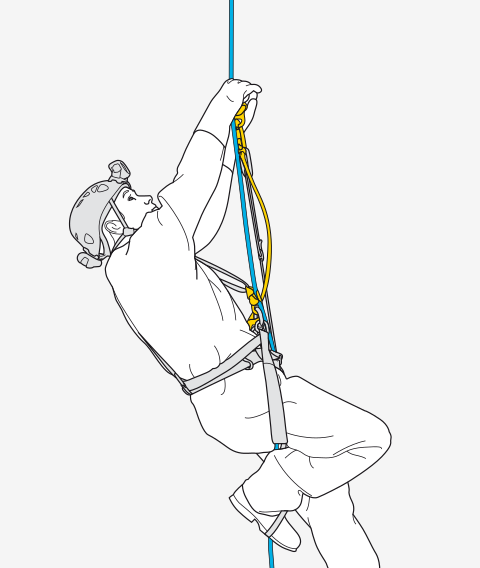
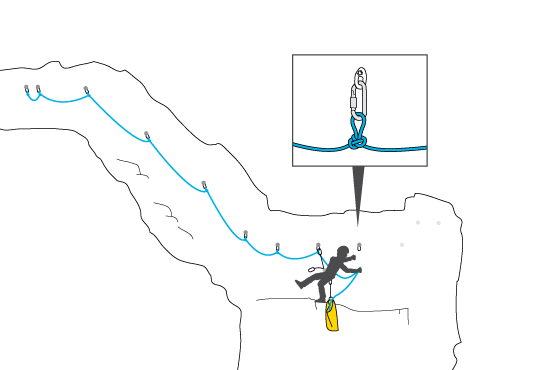
2. Installing a fixed traverse line for progression
The rest of the team will use the taut fixed line for aid and the closely spaced anchors for climbing. The butterfly knot adjusts easily for tensioning the rope.
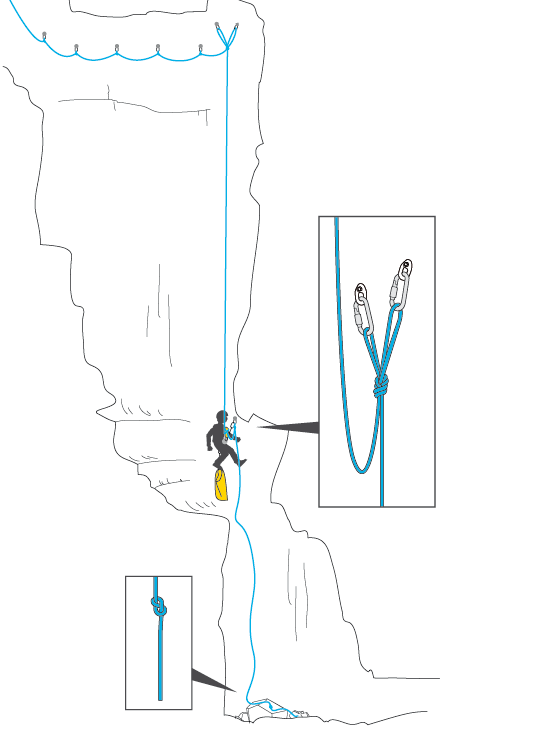
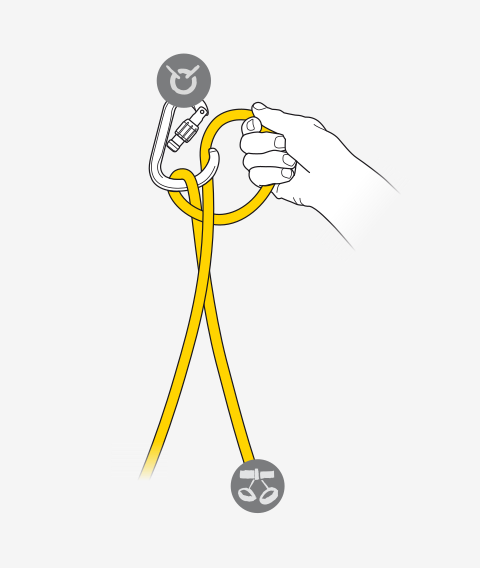
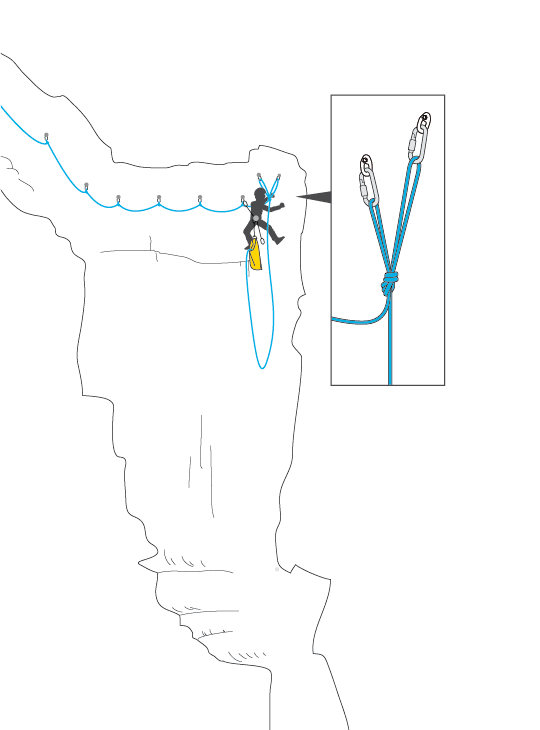
3. Installing the rope at a pitch head
A double anchor must be used at pitch heads. A Y-knot distributes the load on the anchors and allows the direction of the rope to be more easily chosen.
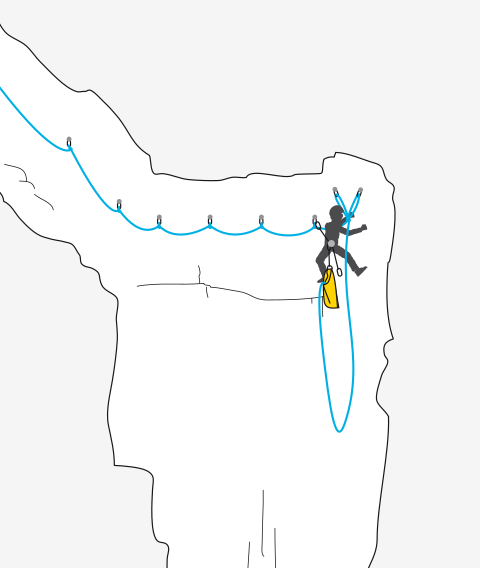
4. Creating a rebelay
Breaking up rope lengths reduces elasticity and the risk of abrasion and allows several members of a team to progress simultaneously, with one user maximum per section.